How to nock an arrow onto your bowstring (It’s SIMPLE)
Archery is a sport that has many different techniques and methods, but this tutorial will teach you how to nock an arrow onto your bowstring, the second step in the shot sequence.

In order to excel in the sport of archery, it is crucial to execute each step with controlled strength and consistency. For archers, a consistent cycle of nine major steps is essential, as they directly impact the outcome of each shot. The nine basic steps are:
A few key points related to good basic archery form include understanding that the bow is a mechanical device designed to store energy through the bending and flexing of its limbs, which is then released to propel the arrow. The energy stored is directly linked to the degree of limb bending and the distance the string is drawn (draw length). This makes consistent draw length essential for consistent arrow propulsion.
The human body functions most efficiently when it is balanced. For instance, carrying two loads in one hand is more difficult than carrying one in each hand, as the muscular effort is distributed symmetrically. Fatigue occurs when the energy used in a specific time exceeds the body’s capacity to replenish it from existing reserves. The more muscles in use at any given time, the greater the energy drain and the sooner fatigue sets in.
Biomechanics is the field of sport science that applies the principles of mechanics and physics to human performance, examining the internal and external forces acting on the human body and the effects they produce. In relation to sports, biomechanics contributes to understanding the mechanical cause-effect relationships that determine human movement in exercise, sports, and play.
Maximum efficiency in the use of an archer’s bone structure and muscles is achieved when forces are directed along the bones and through the joints, minimizing the amount of muscular effort required. Smaller angles between bones and forces result in a more efficient use of the archer’s muscles and energy.
Control of movement relies on having muscular energy in excess of the minimum required for that movement available in the muscles used. In archery, drawing the bow symmetrically and utilizing the body’s natural levers increases control and reduces muscle work, in turn reducing fatigue and maintaining control over a longer period.
The essentials of perfect target archery technique can be summarized as:
Based on these four essentials, the ideal position at full draw will be:
Before you begin, it’s essential to identify your dominant eye. Similar to how you have a dominant hand, you also have a dominant eye, which plays a significant role in aiming. To figure out if you’re left-eyed or right-eyed, perform a simple eye dominance test. Knowing your dominant eye will help you aim more accurately and determine the appropriate bow for your needs.
Before stepping up to the shooting line, it’s important to thoroughly examine all your gear and equipment for any damage. Inspect your bow for any cracks and your bowstring for signs of fraying. Using damaged equipment could lead to unnecessary injuries, and a brief inspection only takes a few minutes.
Examine Your Archery Equipment For:
Bow riser cracks
Bow limb cracks
Bowstring fraying
Compound bow cam system
Damage to the arrow rest
Sight and peep sight damage
Arm guard damage
Cracks in the arrow
Arrow splintering
Frayed or damaged arrow fletching
We make a point to review range rules prior to shooting. While inspecting gear is an opportune time to do this. At an archery range, staff will typically cover the range rules before allowing you to shoot.
However, since we use a backyard range we built ourselves, it’s our responsibility to ensure everyone we invite to shoot knows what’s expected. We maintain an archery safety rules list posted near our range for easy reference while shooting.
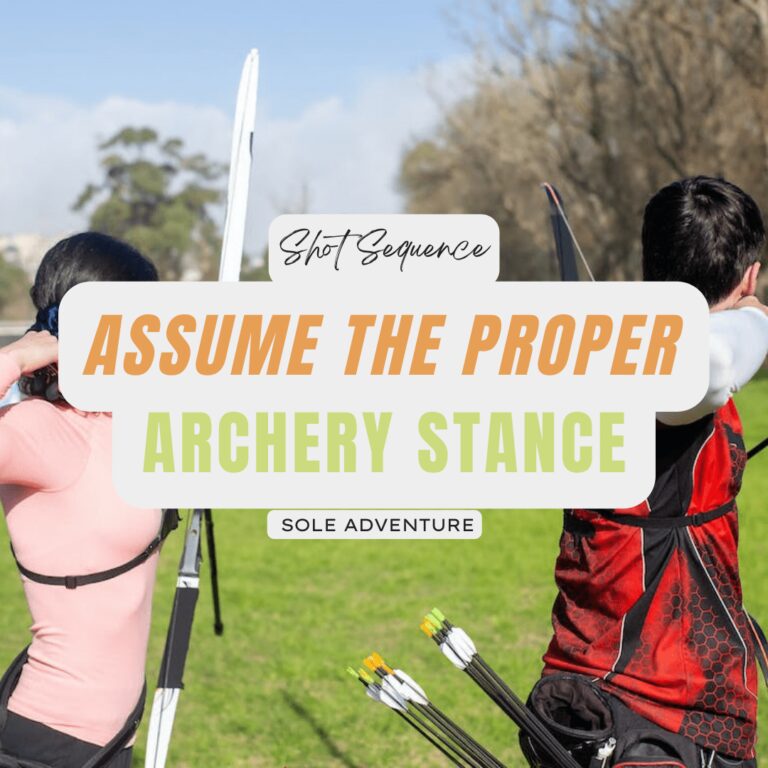
Proper stance is crucial for consistent and accurate shooting. Start by positioning your feet shoulder-width apart, perpendicular to the target. Distribute your weight evenly between both feet, and ensure that your body is aligned with the target. Keep your knees slightly bent and maintain good posture throughout the shot.
When nocking your arrow, make sure to align the arrow with the bowstring and the nock locator or nocking point. Always inspect your arrows for damage before nocking them, as damaged arrows can lead to accidents or inconsistent shots.
There are several ways to grasp the bowstring, but the most common method is the three-finger grip. Place your index finger above the arrow and your middle and ring fingers below it. Be sure to use a finger tab or glove to protect your fingers from the bowstring.
When gripping the bow, maintain a relaxed and comfortable hold. Avoid a tight, death grip that can cause tension and reduce accuracy. Allow the bow to rest against the base of your thumb, and keep your fingers relaxed.
Proper alignment is essential for accurate shooting. Keep your bow arm slightly bent and relaxed. Raise your bow arm so that it’s parallel to the ground and aligned with the target. Ensure that your shoulders remain relaxed and level throughout the shot.
As you draw the bow, focus on engaging your back muscles rather than relying solely on your arm strength. Pull the bowstring smoothly and evenly toward your face, maintaining consistent pressure throughout the draw.
An anchor point is a consistent position on your face where you draw the bowstring each time you shoot. This helps ensure stability and accuracy. The anchor point may vary depending on the type of bow you’re using, but it’s typically near the corner of your mouth or under your chin.
Aiming is a critical step in the shooting process. Depending on your bow type and preference, you may use a bow sight, instinctive shooting, or a combination of both. Take your time to aim carefully and align the target with your dominant eye.
To release the arrow, simply relax your fingers and allow the bowstring to slide off. Avoid jerking or “plucking” the string, as this can disrupt the arrow’s flight. After releasing the arrow, maintain your form and continue to focus on the target. This follow-through helps promote consistent shooting habits.
Though not strictly necessary for shooting a bow and arrow, analyzing your shot can help improve your subsequent attempts. Reflect on the shot you just took. How did it feel? Was your stance correct, or do you think there’s room for improvement? Now is the time to make adjustments to your sight or anchor point if necessary.
Factors to Reflect on About Your Shot:
Proper form
Stance quality
Bowstring hook
Release sensation
Comfort and repeatability of your anchor point
Aim accuracy
Sight adjustments, if needed
Of course, consider not only the aspects that went wrong and require improvement, but also acknowledge what went right. Knowing how to shoot a bow is one thing, but mastering the skill takes time. Continue practicing what you did well, and focus on the areas that need attention.
The drawing process should be efficient, methodical, and consistent. This requires a systematic shooting sequence, with each action carefully controlled to ensure accuracy. The sequence should be a smooth, flowing series of deliberate physical movements derived from practiced technique. Tension, both physical and mental, is the archer’s greatest foe – learning to relax throughout the entire shooting process is crucial.
Archery is a sport that has many different techniques and methods, but this tutorial will teach you how to nock an arrow onto your bowstring, the second step in the shot sequence.
Proper posture is the key to shooting a bow. With my tips and instructions, you’ll have a strong, balanced stance that will help you shoot more accurately.